
9시 24분
글 수정, 글 삭제, 객체 문법, 템플릿 정리정돈, 모듈, 입력정보에 대한 보안, 출력정보에 대한 보안 본문
글 수정 - 수정 링크 생성
templateHTML 함수를 아래와 같이 수정해주자
function templateHTML(title, list, body, control){
    return `
    <!doctype html>
    <html>
    <head>
      <title>WEB - ${title}</title>
      <meta charset="utf-8">
    </head>
    <body>
      <h1><a href="/">WEB</a></h1>
      ${list}
      ${control}
      ${body}
    </body>
    </html>
    `;
}- control 변수 추가
그리고 각 섹션(홈, 페이지, create 창)마다 상황에 맞게 update 버튼이 뜨도록( 안 뜨도록 ) 해주자.
홈 - 안 뜸
페이지 - 뜸
create 창 - 안 뜸 ( create 버튼도 )
그리고, 각 페이지 창에서 아래 코드처럼 update 뒤에 query string을 추가하여 어떤 글을 수정할 것인지 명시해주자.
// 홈
var template = templateHTML(title, list,`<h2>${title}</h2>${description}`,
	`<a href="/create">create</a>`);

// 페이지
var template = templateHTML(title, list,`<h2>${title}</h2>${description}`,
	`<a href="/create">create</a> <a href="/update?id=${title}">update</a>`);

// create 창
var template = templateHTML(title, list,`
<form action="http://localhost:3000/create_process" method="POST">
	<p><input type="text" name="title" placeholder="title"></p>

	<p>
		<textarea name="description" placeholder="description"></textarea>
	</p>

	<p>
		<input type="submit">
	</p>
</form>
`, ``);
글 수정 - 수정할 정보 전송
else if(pathname==='/create_process') 아래에 아래 코드를 추가해주자.
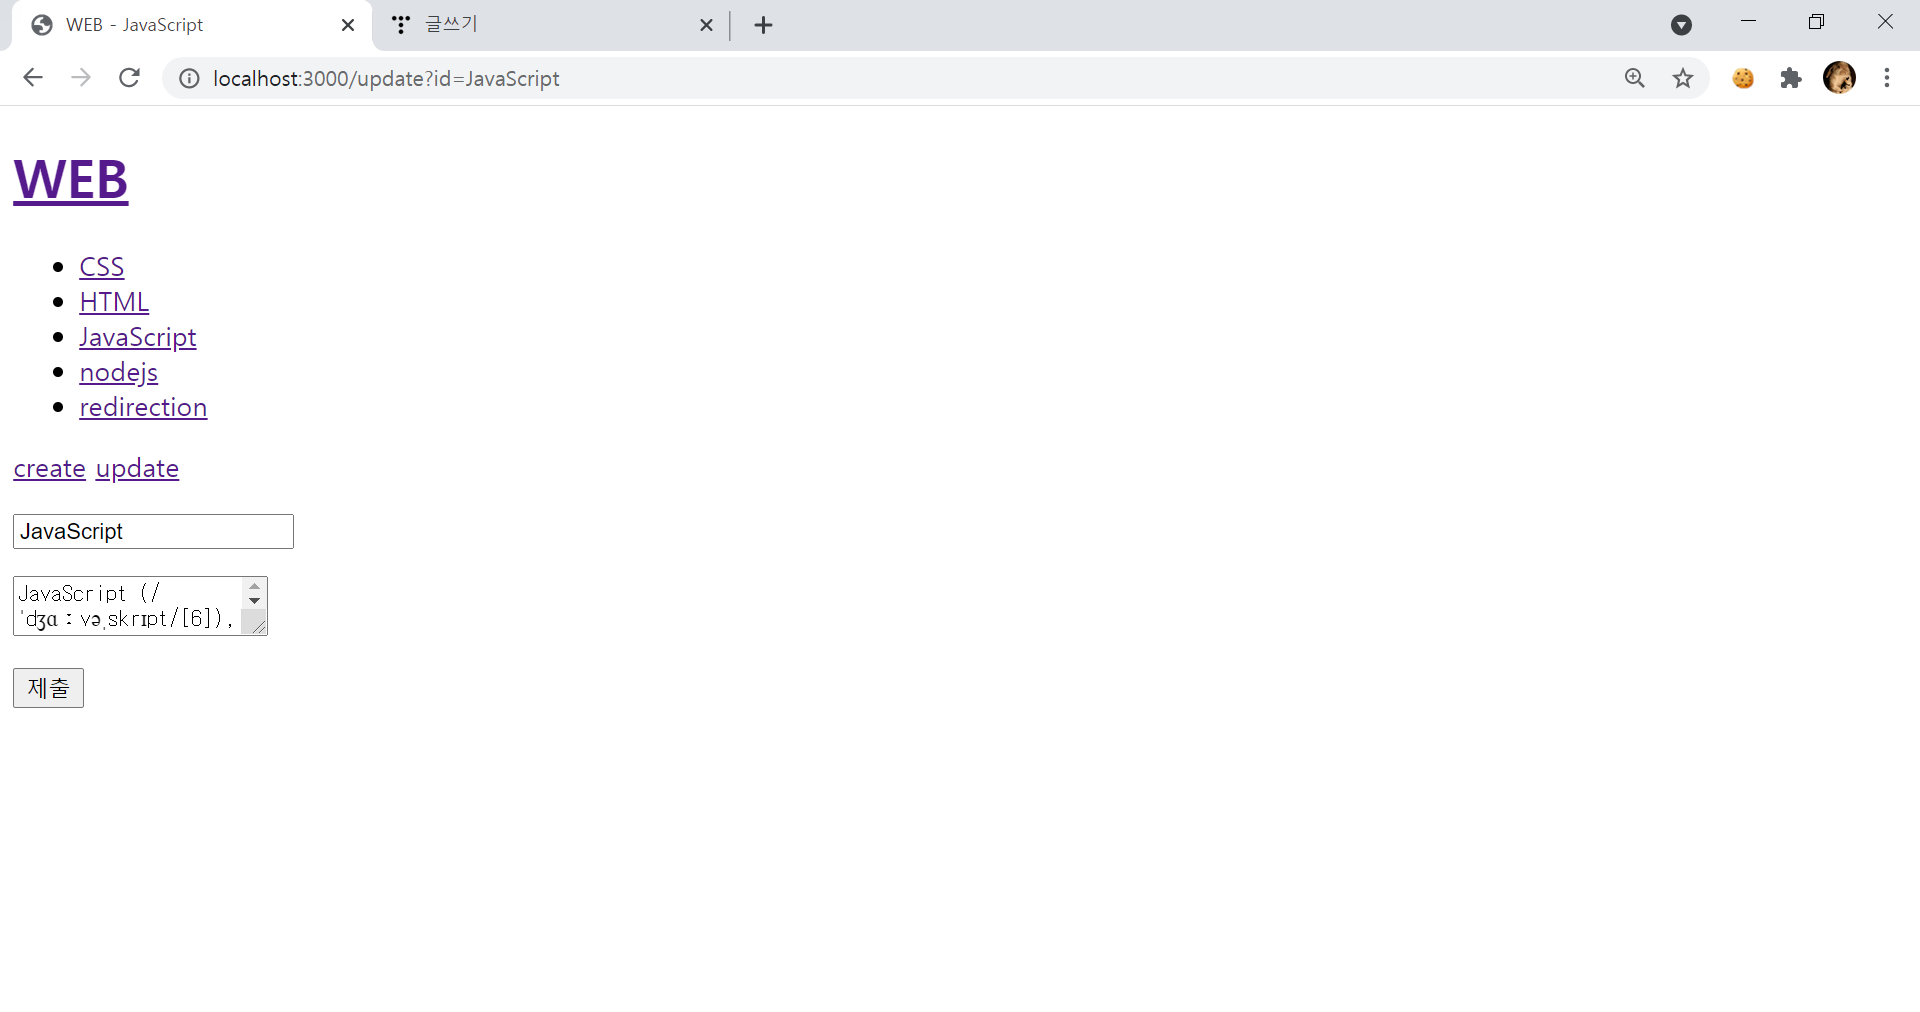
else if(pathname === '/update'){
      fs.readdir('./data',function(error, fileList){
        var list = templateList(fileList);
        fs.readFile(`data/${queryData.id}`, 'utf8', function(err, description){
          var title=queryData.id;
          var template = templateHTML(title, list,`
          <form action="/update_process" method="POST">
          	<input type="hidden" name="id" value="${title}">
            <p><input type="text" name="title" placeholder="title" value="${title}"></p>

            <p>
                <textarea name="description" placeholder="description">${description}</textarea>
            </p>

            <p>
                <input type="submit">
            </p>
          </form>
          `,
          `<a href="/create">create</a> <a href="/update?id=${title}">update</a>`);
        response.writeHead(200);
        response.end(template);
        });
      });
}- fs.readdir() 함수로 내용을 읽어옴
- input 태그에선 value 속성, textarea 태그에선 본문에 literal을 사용해주어서 원래 글의 제목과 본문을 기본 값으로 받아온다.
- 제목 수정 시, data 디렉토리의 파일명과 수정한 제목이 일치하지 않을수도 있다! 그러므로 원래 제목과 수정된 제목을 데이터로 전송받을 때 둘 다 전송받기 위해 hidden 태그를 사용한다.

글 수정 - 파일명 변경, 내용 저장
이전에 글 생성에서 했던 것을 참고하여 아래와 같이 if문을 추가해주자.
else if(pathname === '/update_process'){
var body = '';
request.on('data', function(data){
// 데이터가 많을 경우 조각조각의 데이터를 인자로 콜백 함수를 호출 > 수신한 정보를 줌
body += data;
});
request.on('end', function(){ // 더 이상 들어올 정보가 없으면 콜백 함수를 호출
var post = qs.parse(body); // post 안에 POST 데이터가 들어있을 것
var id = post.id;
var title = post.title;
var description = post.description;
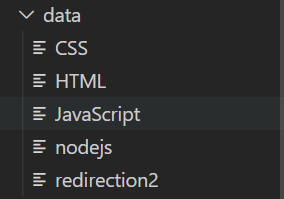
fs.rename(`data/${id}`, `data/${title}`, function(error){
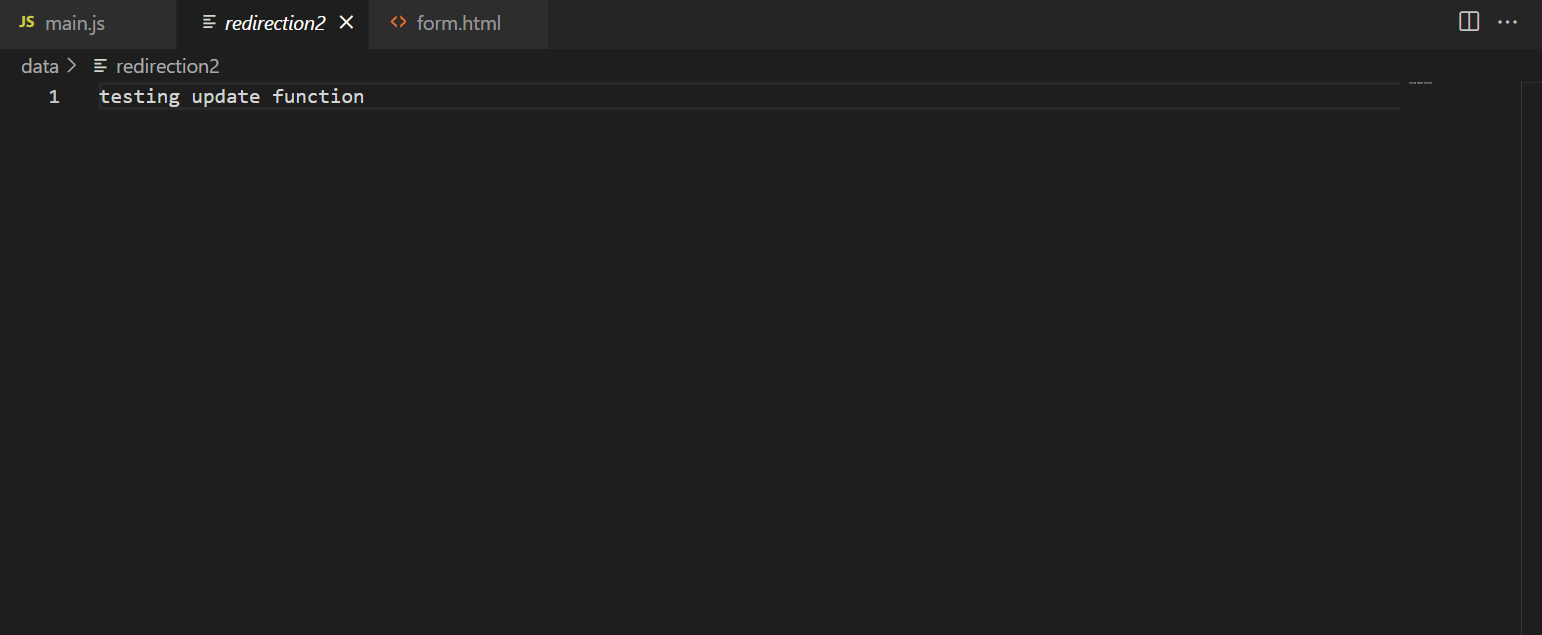
fs.writeFile(`data/${title}`, description, 'utf8', function(err){ // 에러가 있을 때 에러를 처리하는 방법
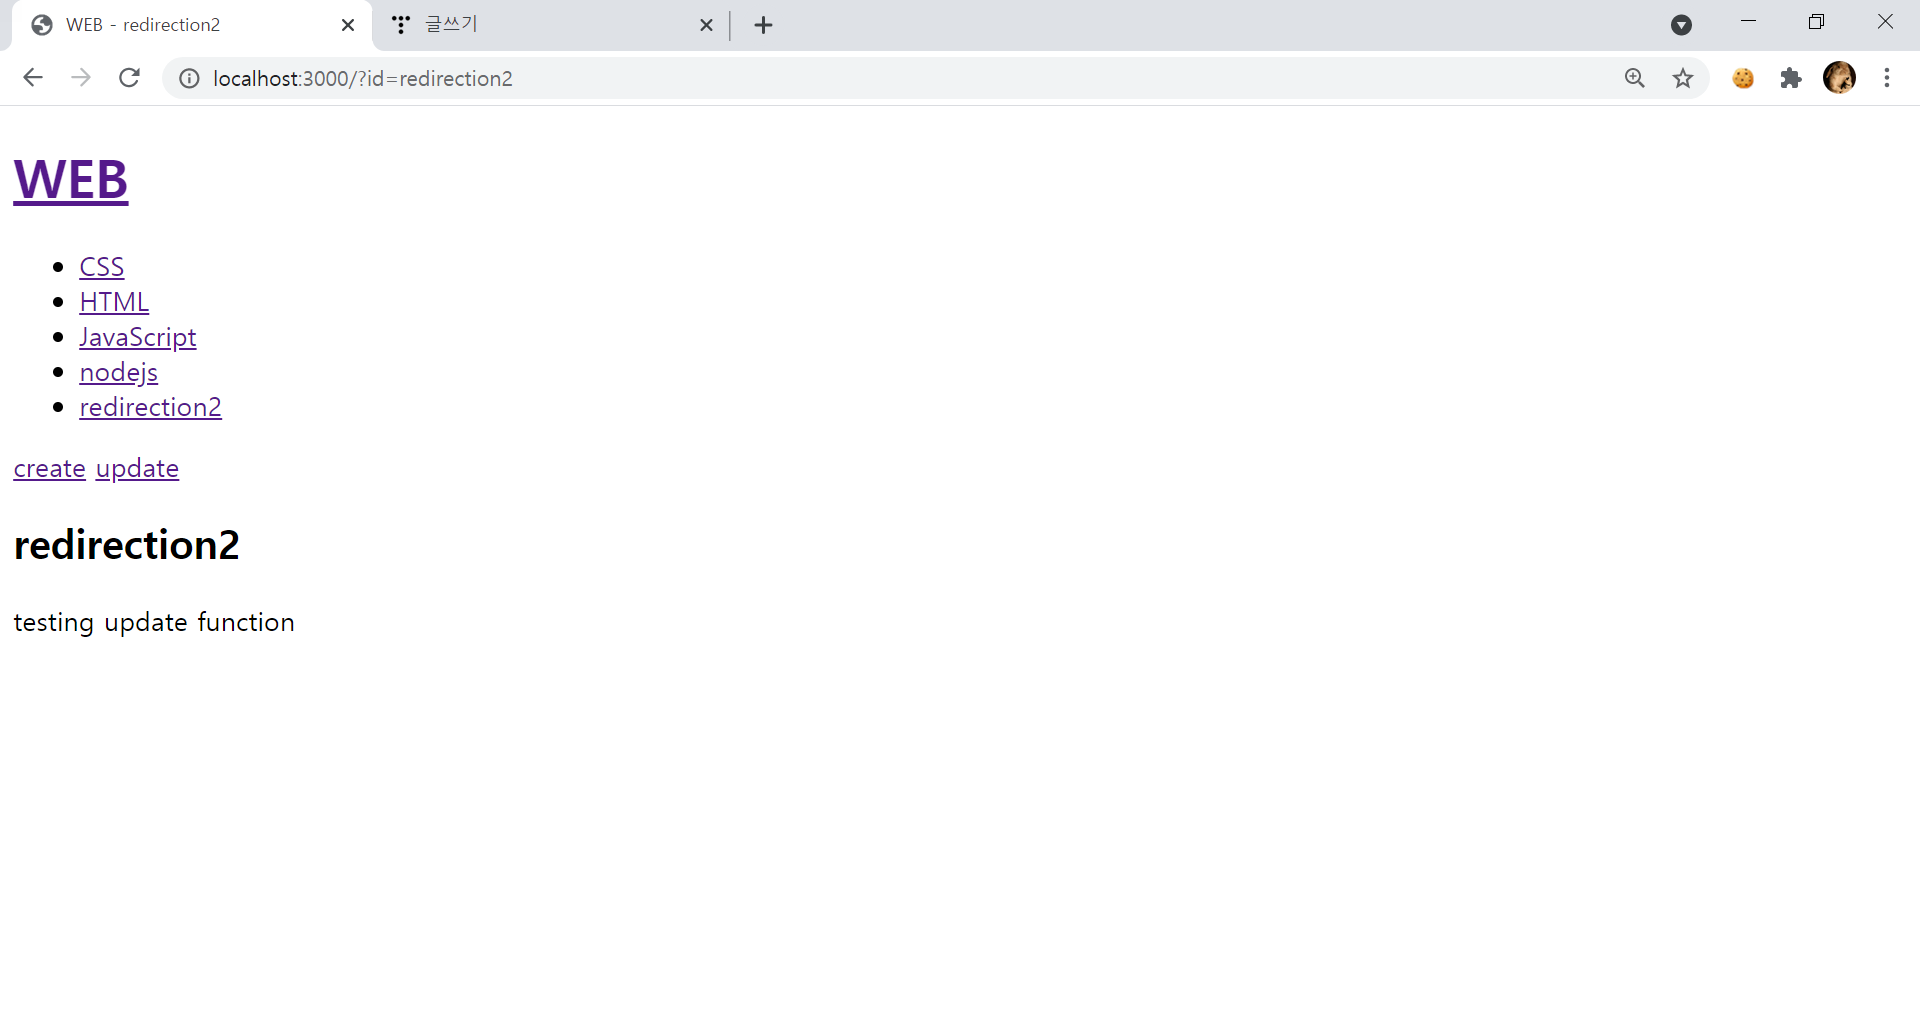
response.writeHead(302, {Location: `/?id=${title}`}); // 302 - 리다이렉션
response.end('sucess');
});
});
});- fs.rename() 함수를 이용하여 글 수정 시 제목이 바뀌도록 해줬다.
- 콜백 함수에는 fs.writeFile() 함수를 이용하여 내용도 바뀔 수 있도록 해줬다.
- 앗, 그리고 앞에서 설명 안했는데 코드의 간결성을 위해 앞에 localhost:3000 부분도 생략해주었당
글 삭제 - 삭제버튼 구현
delete 버튼을 구현하고, delete 했을 때 data 디렉토리에서 제목이 같은 파일을 삭제할 수 있도록 하자.
delete 버튼은 링크, GET 방식으로 만들면 안돼 > form 태그로 만들어줄거야
각 페이지를 나타내는 else 문을 아래와 같이 수정해주자.
      else{ // 페이지
        fs.readdir('./data',function(error, fileList){
          var list = templateList(fileList);
          fs.readFile(`data/${queryData.id}`, 'utf8', function(err, description){
            var title=queryData.id;
            var template = templateHTML(title, list,`<h2>${title}</h2>${description}`,
            `<a href="/create">create</a>
            <a href="/update?id=${title}">update</a>
            <form action="delete_process" method="post" onsubmit="확인문구 js">
            <input type="hidden" name="id" value="${title}">
            <input type="submit" value="delete">
            </form>
            `);
          response.writeHead(200);
          response.end(template);
          });
        });
}- template 수정 > form 태그 추가, hidden 타입과 submit 타입 input 태그 각각 하나씩 생성
글 삭제 - 삭제 기능 완성
else if(pathname === '/delete_process'){
      var body = '';
      request.on('data', function(data){
        // 데이터가 많을 경우 조각조각의 데이터를 인자로 콜백 함수를 호출 > 수신한 정보를 줌
          body += data;
      });
      request.on('end', function(){ // 더 이상 들어올 정보가 없으면 콜백 함수를 호출
        var post = qs.parse(body); // post 안에 POST 데이터가 들어있을 것
        var id = post.id;
        fs.unlink(`data/${id}`, function(error){
          response.writeHead(302, {Location: `/`}); // 302 - 리다이렉션
          response.end();
        })
      });
}- fs.unlink() 함수를 이용하여 data 디렉토리에서 파일을 삭제하고 메인 화면으로 돌아올 수 있도록 하자.
- delete 버튼을 눌렀는데 계속 메인으로 가기만 하고 글 삭제 기능이 안되는거임 ㅠㅠ 알고보니까 위에서 delete 버튼 만들 때 =를 안 입력해줘서 value 속성이 제대로 작동 안하는거였음
객체 문법
// syntax/object.js

var roles = {
    'backend' : 'BB',
    'frontend' : 'FF',
    'manager' : 'MM'
}

console.log(roles.backend);

for(var name in roles){
    console.log('object -> ', name, ', value -> ', roles[name]);
}
객체 - 값으로서 함수
var f = function(){
    console.log(1+1);
    console.log(2+2);
}

var a = [f];
a[0]();

console.log(f);
f();

var o = {
    func: f
}
o.func();
템플릿 기능 정리정돈
위에서 배운 객체 개념을 활용하여 비슷한 개념인 templateList, templateHTML 함수를 객체로 만들고, 그에 맞게 아래 코드들도 template.list & template.HTML 로 수정해주었다.
var template = {
  HTML : function(title, list, body, control){
    return `
    <!doctype html>
    <html>
    <head>
      <title>WEB - ${title}</title>
      <meta charset="utf-8">
    </head>
    <body>
      <h1><a href="/">WEB</a></h1>
      ${list}
      ${control}
      ${body}
    </body>
    </html>
    `;
  }
모듈
: 파일을 쪼개서 관리
// muse.js

var M = {
    v : 'v',
    f : function(){
        console.log(this.v);
    }
}

M.f(); // 이거랑

var part = require('./mpart.js');
part.f(); // 이거 같은 기능 수행

// mpart.js

var M = {
    v : 'v',
    f : function(){
        console.log(this.v);
    }
}

module.exports = M; // 모듈이 담긴 mpart.js 중 M이 가리키는 객체를 모듈 밖에서 사용할 수 있도록 한다.
우리의 애플리케이션에 활용해보자.
template 객체를 모듈화하자.
// template.js

var template = {
    HTML : function(title, list, body, control){
      return `
      <!doctype html>
      <html>
      <head>
        <title>WEB - ${title}</title>
        <meta charset="utf-8">
      </head>
      <body>
        <h1><a href="/">WEB</a></h1>
        ${list}
        ${control}
        ${body}
      </body>
      </html>
      `;
    }
    , list : function(fileList){
      var list = '<ul>';
      var i = 0;
      while(i < fileList.length){
        list = list + `<li><a href="/?id=${fileList[i]}">${fileList[i]}</a></li>`;
        i = i + 1;
      }
      list = list + '</ul>';

      return list;
    }
  }

module.exports = template;
그 다음 main.js에 있던 저 부분을 지우고 아래 코드를 추가하자.
var template = require('./lib/template.js');
입력정보에 대한 보안
...은 pass